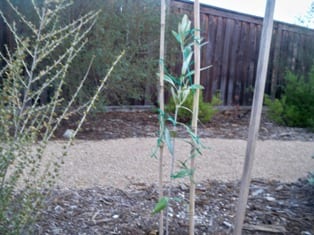
Many people view a fruiting olive tree as my friend Mary did, as a nuisance that drops it's berries all over the ground making a huge mess. When I saw her tree for the first time I almost hugged it and her! At last I found someone willing to let me pick their tree and brine olives like my Grandfather Max used to do.
When I was about 12 years old, I got to help my grandfather pick, pound and prepare the olives. It was the last time he ever made them. I was so proud of myself climbing up the tree which he purposefully let develop many trunks with lots of low growing branches so they were easy to pick. Unlike Wednesday, when I climbed an 8 foot ladder in order to reach my harvest. I also remember while helping to pound the ripe black olives I stained my white Keds, much to my grandmother's chagrin. She was sure my mother would be upset that I had ruined my shoes and she desperately tried to bleach out the stains. Ma'am knew she had a tomboy and just laughed about the whole thing.
Most methods for curing olives involve using lye, which scares the pants off of me. This method takes a bit longer but does not involve any caustic chemicals.
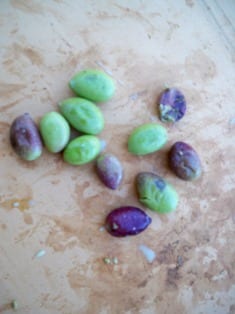
STEP ONE: Pick the olives. You can pick them just as they are starting to turn color or wait until they are completely ripe. Toss any that have been attacked by bugs or birds or just don't look right.
STEP TWO: Smash them. The goal is not to flatten them, but to break the skin so the brine can get in. Grandfather used an inverted metal trash can lid (think Oscar the Grouch's lid) that had been scrubbed clean of course. I used a board I happened to have around the house. Based on my recent experience try to find something that is hard and has a lip on it because the olives like to roll away! And I don't assume everyone has a toddler that will chase after them. You can use a hammer, mallet or rolling pin to do this. I also suggest holding the hammer or mallet close to the head because you want accuracy not power.
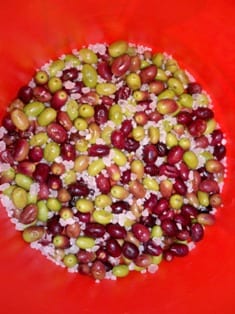
STEP THREE: In a non corrosive container, layer the olives and rock salt - use an equal amount of rock salt as olives (e.g. 5 pounds olives and 5 pounds rock salt). Bet you can't guess where I got my "non-corrosive container"? One quick cute (probably embarassing for him in the future) story about my son. He wanted to "help cook" by pouring on the salt. In between layers he ran around the yard with the salt box screaming "Ice Cream, Ice Cream!" Poor thing! He saw the picture on the box of the rock salt and assumed that's what we were making. If he didn't still have a little Halloween candy left I might have gone to the store to buy some to make it up to him.
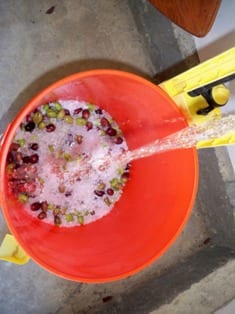
STEP FOUR: Pour distilled water to just cover the olives. As you can see from the photo on the left, I just used tap water. After talking it over with Ma'am we concluded that the worst thing that will happen by not using the distilled water is the olives may pick up some "flavor" from the water. If your water tastes funny, you may want to ony use distilled or filtered water. We will be using filtered water for step five.
STEP FIVE: The hardest part of all, WAITING! Cover the olives and put in a cool dry place. Let them soak in the brine for 6 weeks, changing the water once a week.
STEP SIX: After the six weeks store them in sterilized glass jars in a lighter brine solution. This is the part I am still a little hazy on. I kind of remember them being marinated with some garlic, but I could be wrong. I will do more research and talk to mia famiglia at Thanksgiving dinner. I will be posting an update in a few weeks with photos of the completed olives and more details on the finished product.
Next blog will be Thanksgiving theme! gobble gobble!
Until next time, happy eating!
~Audrey



Mary
I am so excited that you are loving my pesky olives. Next time you come over to pick, we'll hoist you up into the tree and you can climb to the top and harvest them all! Can't wait to try a delicious Audrey Olive!