Rediscover the simple pleasures of preparing and eating real foods that nourish your body, mind and spirit. I'll show you how easy it can be.
The Latest Recipes
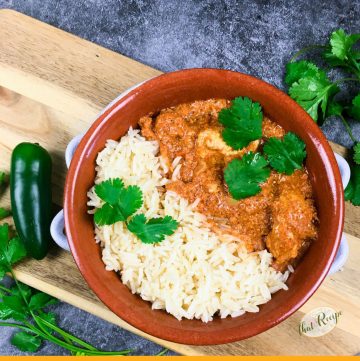
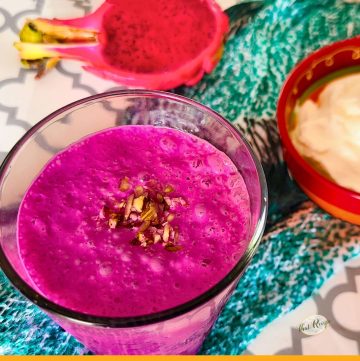
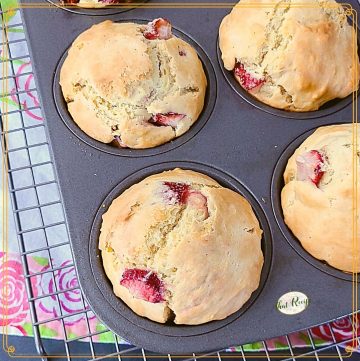
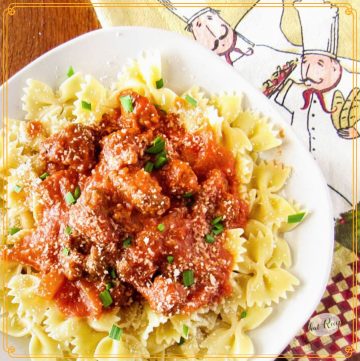
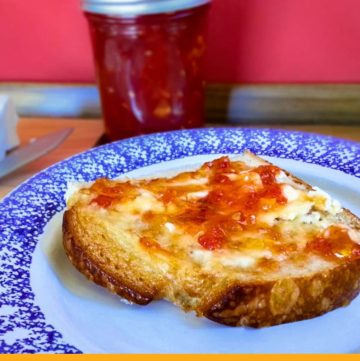
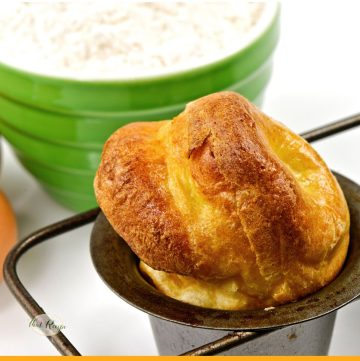
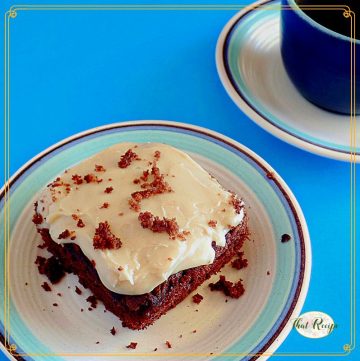
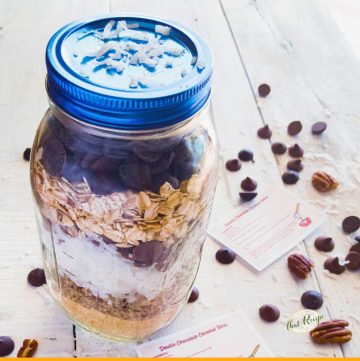
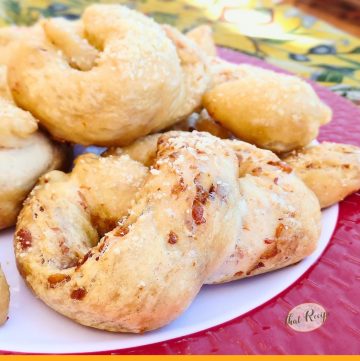
Here are a few recipes my family has been enjoying lately.
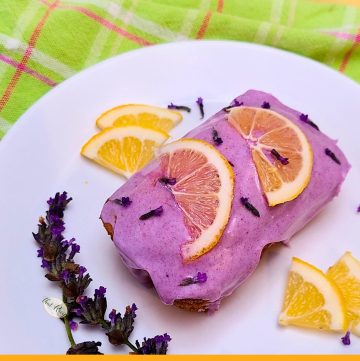
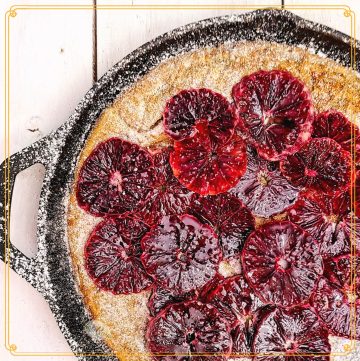
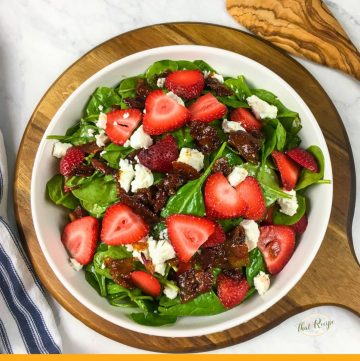
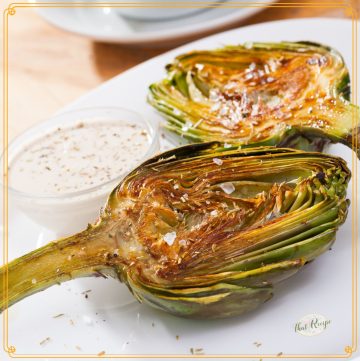
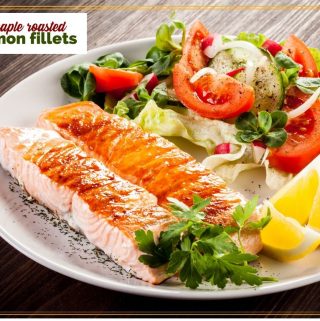
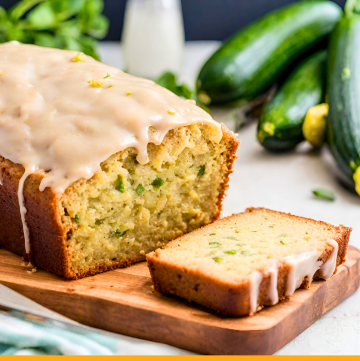
Spring Flavors
Enjoy the fresh taste of Spring with these recipes featuring in season produce.
See more Spring Produce recipes →
Looking for something specific?
Dinner in 30 Minutes
Sure, I love to cook. But, who has the time or energy for a complicated long cooking meal on a busy weeknight? Not me! Here are some of our favorite weeknight meals


See more weeknight fast meals →
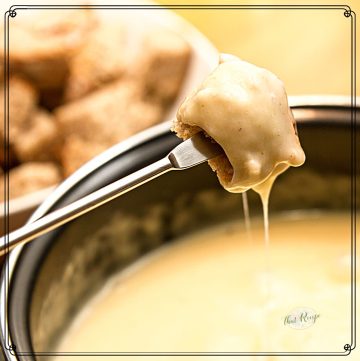
Tried and True Recipes
Our readers agree, these are some of the best recipes on the site. Why not try one or two for your family soon?
See our Top Recipes →
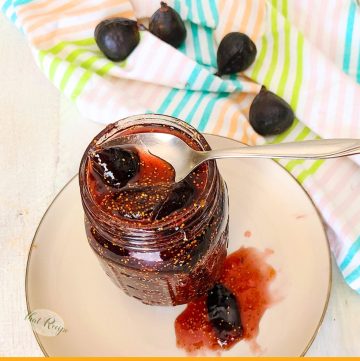
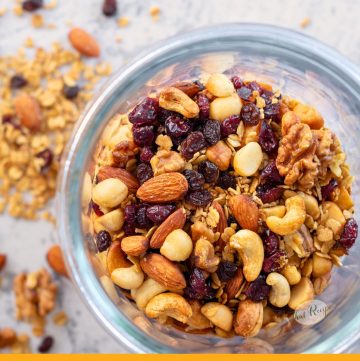
Recently Updated
Vintage is the new black. Or something like that. These posts have been remade and refreshed with new images and text. They are even better the second time around.

About Audrey
I'm your hostess, Audrey, an avid "maker" that believes home made is better.
Whether it's cooking, crafting, gardening, home décor, even blog design, I love getting my hands dirty and trying new things... even if I make a mess in the process.