


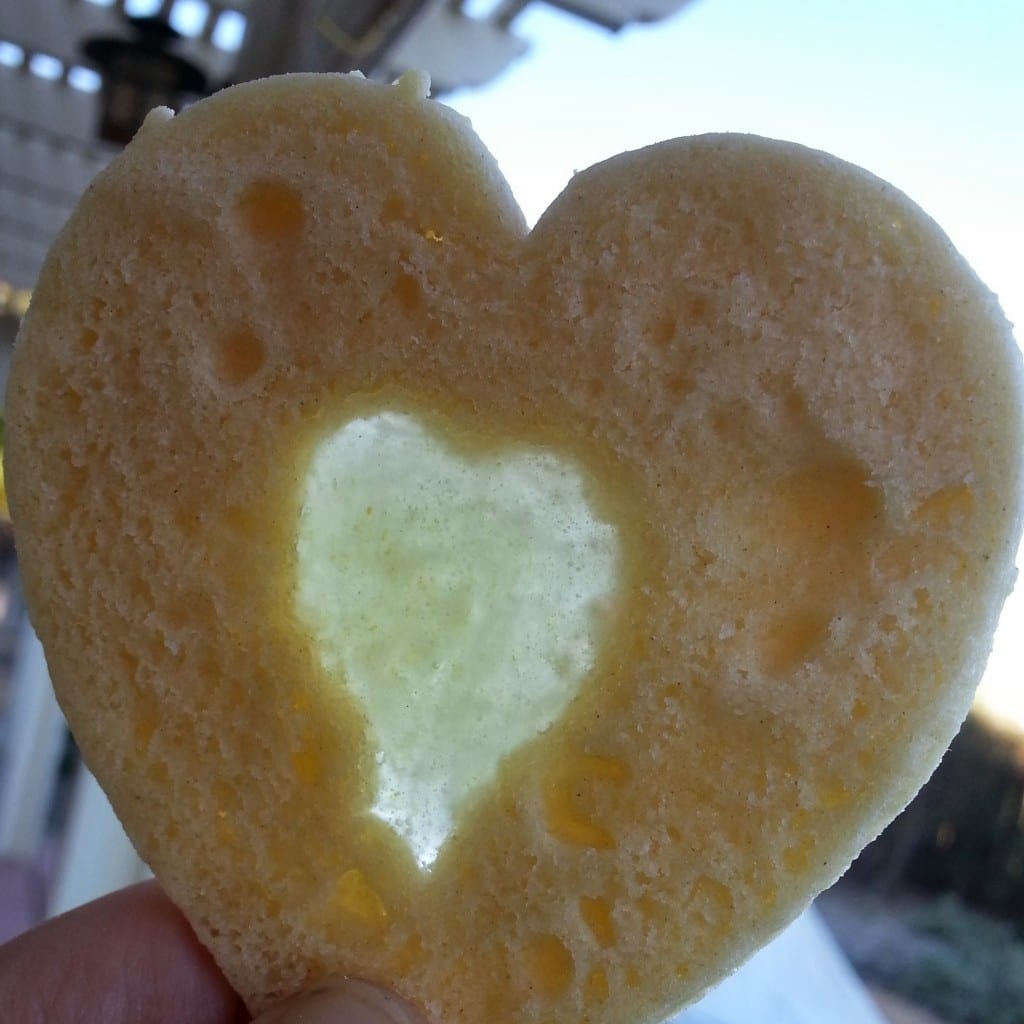
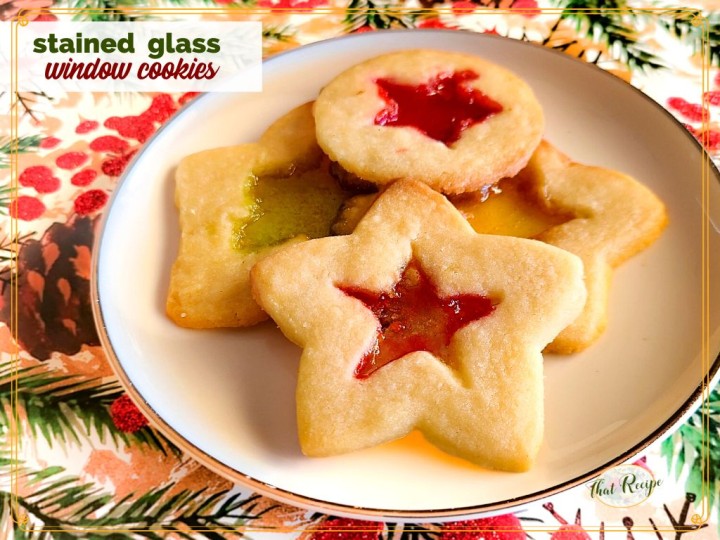
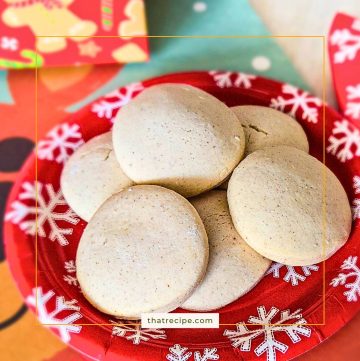
Stained Glass Window Cookies are a simple sugar cookie with melted hard candies in the center. No extra decorating needed and two treats in one. SCORE!
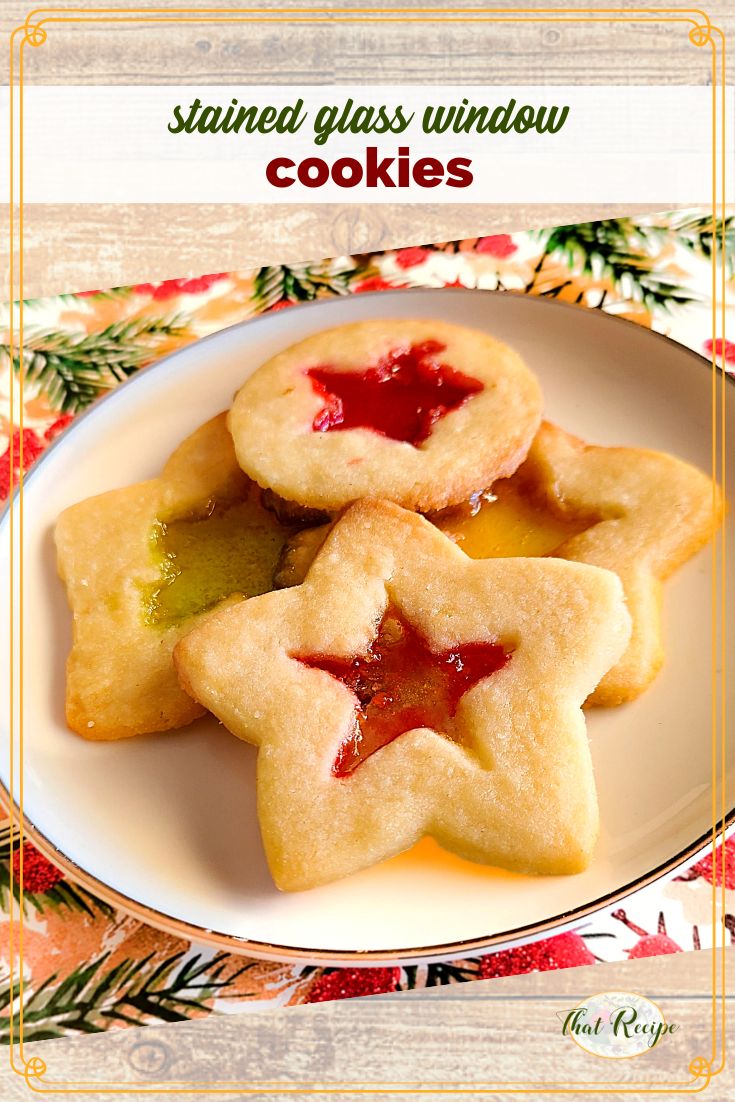
The basic concept for these cookies is simple: roll the dough and cut out like regular sugar cookies. Then cut out a shape in the center and add some hard candies.
Once baked, the candies melt and resemble stained glass.
Stained Glass Window Cookies for any occassion
You can use any outer shape and any inner shape to specialize them for any holiday:
- hearts for Valentine's day
- bells or hearts (or bells with hearts) for a wedding/ bridal shower
- stars for Christmas or 4th of July
- ovals with a few pieces of different color candies for Easter eggs
- circles for Olympic rings
- turtles with colored masks
- any other shape for "just because they are fun to make and eat"
One word of caution: LINE THE COOKIE SHEETS!
I guess that is 4 words.
But, this is not an option for these cookies. When you remove the cookies from the oven the candy will still be liquid but it will harden quickly. You will lose all of the candy if you remove the candy before it hardens, but once it hardens you will need an ice pick or a long hot soak to get it off. I lost a whole dozen!
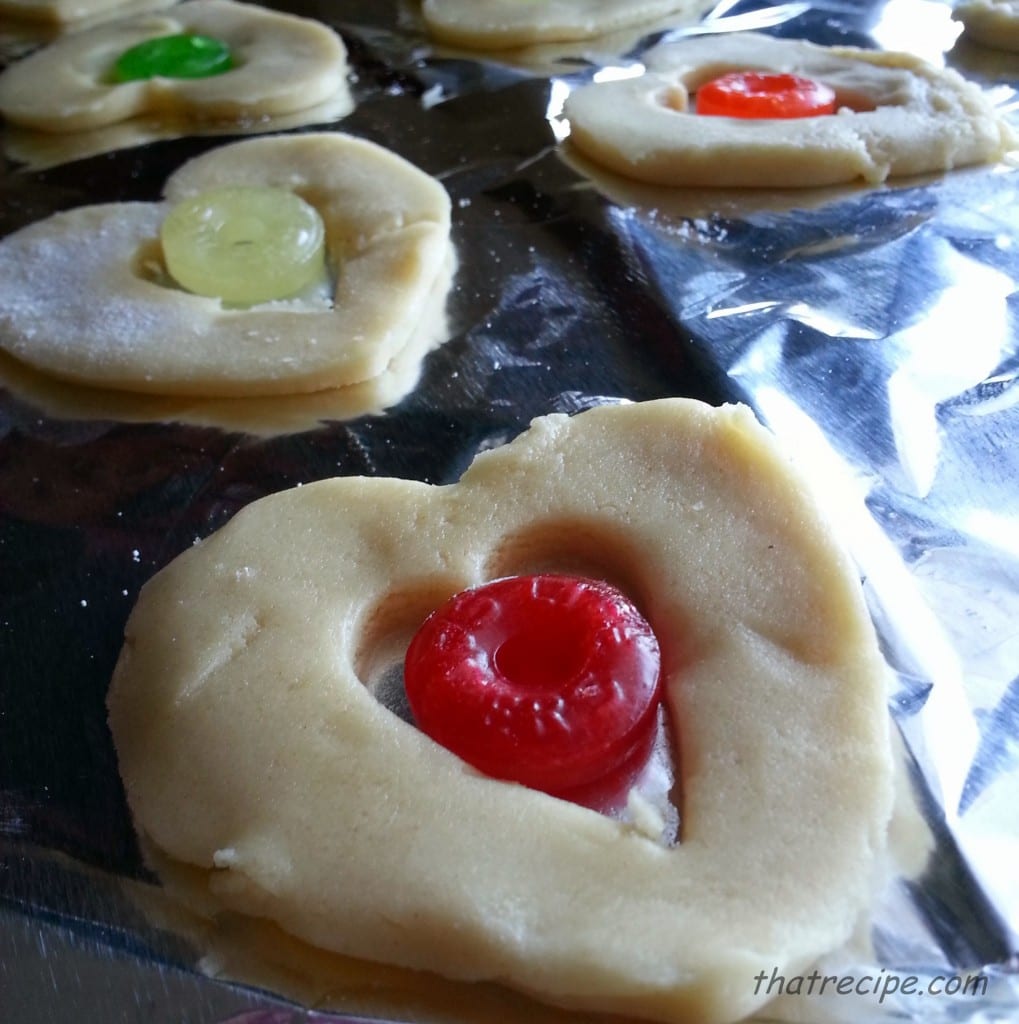
Use a silicone baking mat or parchment paper not aluminum foil since the candy could stick to that too.
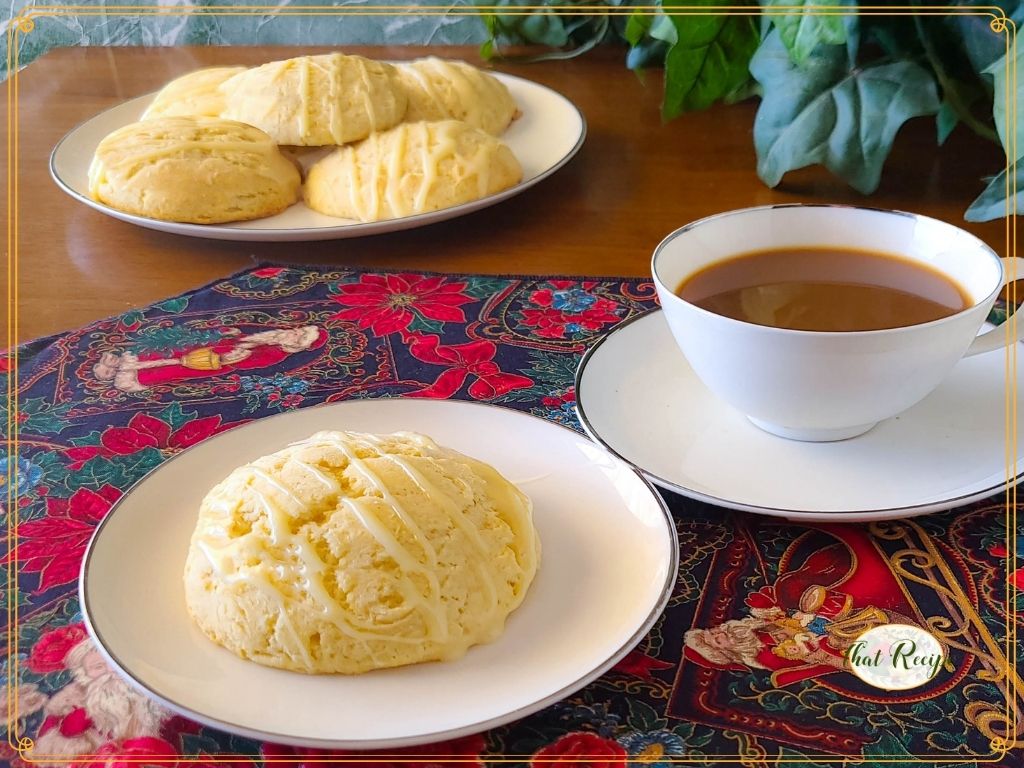
More Holiday Cookies Recipes from #OurFamilyTable

Tis the season for COOKIES! And we've got some delicious ideas for you.
Holiday Cookie Exchange Recipes
- Chocolate Ginger Crinkle Cookies from A Kitchen Hoor's Adventures
- Coconut Almond Cookies from Magical Ingredients
- Cook's Illustrated Perfect Chocolate Chip Cookies from Hezzi-D's Books and Cooks
- Embossed Gingerbread Cookies from Inger Wilkerson
- Stained Glass Window Cookies from That Recipe
- Tropical Breeze Cookies from Palatable Pastime
We share Recipes From Our Dinner Table! Join our group and share your recipes, too! While you're at it, join our Pinterest board, too!
Recipe
Ingredients
- 1 cup sugar
- ¾ cups shortening (or half shortening and half butter/margarine)
- 1 teaspoon vanilla extract (or ½ teaspoon lemon extract)
- 2 eggs
- 2½ cups all purpose flour
- 1 teaspoon baking powder
- 1 teaspoon salt
- 40-50 hard ring shaped candies (or any hard candy, break bigger, thicker candies if using)
Instructions
- In a large bowl mix sugar and shortening in a large bowl until creamy. Add vanilla and eggs.
- Stir in flour, baking powder and salt until combined and a soft dough is formed. Cover and refrigerate at least one hour.
- Preheat oven to 375° F. Line cookie sheets with a silicone baking mat or parchment paper. THIS IS NOT OPTIONAL! The candy will stick to your pans once it melts and re-hardens and will not come off without a lot of soaking.
- Roll dough to ⅛" thickness and cut out outer shapes. Move to cookie sheets then cut out inner shapes with small cookie cutters or freehand with a knife. I use approximately 3" circles or hearts for the outer cookie and 1" cutters for the inside shape.
- Put a ring shaped candy in the hole of each cookie. Bake for 7-8 minutes, watching carefully. As soon as the candy is melted and the cookies just start to turn tan remove from oven to avoid scorching. If the candy has not completely filled the hole immediately spread with a knife.
- Slide foil or parchment paper off of cookie sheet and on to a cooling rack and allow cookies to cool completely. Remove cookies from foil/parchment, they might stick a little at first so you may need to peel the foil/parchment from the back to be sure to remove it all.
Notes
Sound fabulous? Share it!
More Christmas Treats
Until next time, happy eating!
~Audrey
Cassi
I love that stained glass look of these cookies!
becky hardin (the cookie rookie)
these are so neat! can't wait to try them!
Caitlin
I love this!! What a cute idea!! And thank you so much for that handy note {about the parchment paper}otherwise I would have lost an entire batch too! 😉
xx Caitlin
Megan @ C'mon Get Crafty
I tried making these with a roommate years ago - we used Gingerbread men cutters and crushed Jolly Ranchers. The poor things look like gunshot victims!!! Haha - clearly I will have to try again, since yours are so yummy looking! 🙂 #SITSblogging
Amy
These are so cute and look so fun. I'm anxious to try them.
Audrey
Kids love to help make them and eat them of course.
Jessica
What do these taste like are the candy inside crunchy again when they cool down?
Audrey
Yes, the candy hardens again once it is cool. So it is like two treats in one, a cookie outside and a thin hard candy in the center.
Wendy Klik
WHat a great idea to use lifesavers. Love these gorgeous cookies.
Christie Campbell
These look so pretty!! I have always wanted to make them. And this recipe is making me want to get in the kitchen and make some!